


If you properly introduce your dog to her harness – or reintroduce her in a more considerate way – your dog will eventually eagerly push herself into the gear when it’s time for her to get dressed.
To teach your dog to happily help you put her harness on, it’s critical that you stop using force when it comes to putting any gear on her. Yes, most of the time, the harness ends up on the dog and she seems none the worse for wear. But she has certainly been stressed, and stress is cumulative, can cause aggression, and weakens the immune system, making the dog more susceptible to short-term illnesses such as upper respiratory infections, and long-term conditions like cancer. And routine stress degrades quality of life and can damage relationships. So why put your dog through this when there’s a much easier way?
Here’s how to put a harness on, stress free:
- The harness should be adjusted as closely as possible before you put it on. Use a cloth measuring tape on your dog and then the harness, to get the measurements in the right ballpark. If you realize it needs more adjustment after you have it on your dog, remove it to complete your final adjustments.
2. If the harness has a collar section that must go over your dog’s head, hold the collar in one hand in front of your dog’s nose. Have a high-value treat in your other hand. With that hand, reach through the opening of the collar and offer the treat to your dog so she can reach and eat it easily without having to put her head through the collar. The more wary she is of the harness, the farther you should push the treat through the collar to her side.
3. Repeat multiple times with the treat at that spot until she eats it eagerly with no sign of concern.
4. Gradually, over multiple offerings, bring the treat back through the collar so she easily inserts her nose, muzzle, and finally her entire head through the collar. Voila! You’re not putting the collar on her – she’s putting it on herself! Avoid the temptation to push the harness onto her neck when she’s putting her head partway through – this needs to be all her choice.
5. If your dog is reasonably comfortable, go ahead and clip the harness straps. If need be, have someone else feed her treats to keep her happy, or use a Lick Mat or smear peanut butter or squeeze cheese on the refrigerator door to keep her happily engaged, while you close the straps. Give her extra treats and praise while you check the harness fit – but take the harness off to actually fuss with the adjustment.
How to Put On A Step-In Harness
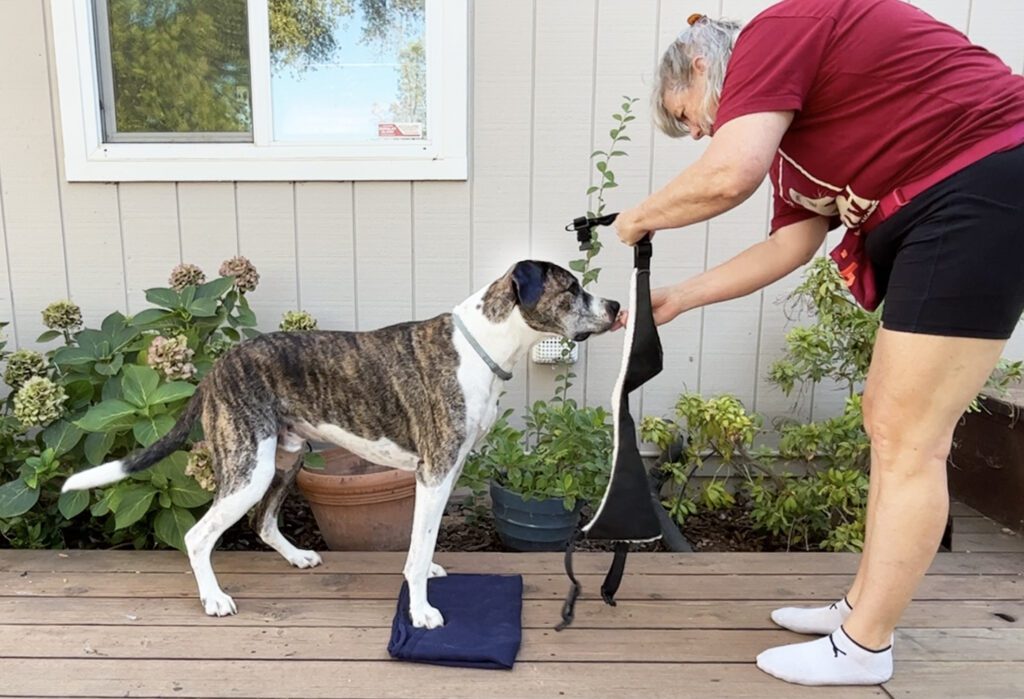
Some harnesses, particularly those car-safety harnesses intended for use with car seat belts, don’t have a collar/yoke section, but require the dog to step in or put his paws through openings; then the harness is clipped or buckled on the dog’s back. Here’s the process for teaching your dog to help you get this type of harness on:
1. Teach/reinforce your dog for putting front paws on a folded blanket or low platform. Mark and treat for stepping with one paw, then both paws, onto the blanket. Shape this if necessary by marking and treating small foot movements in the vicinity of the blanket. When she does this easily, add a cue, such as, “Step in!”
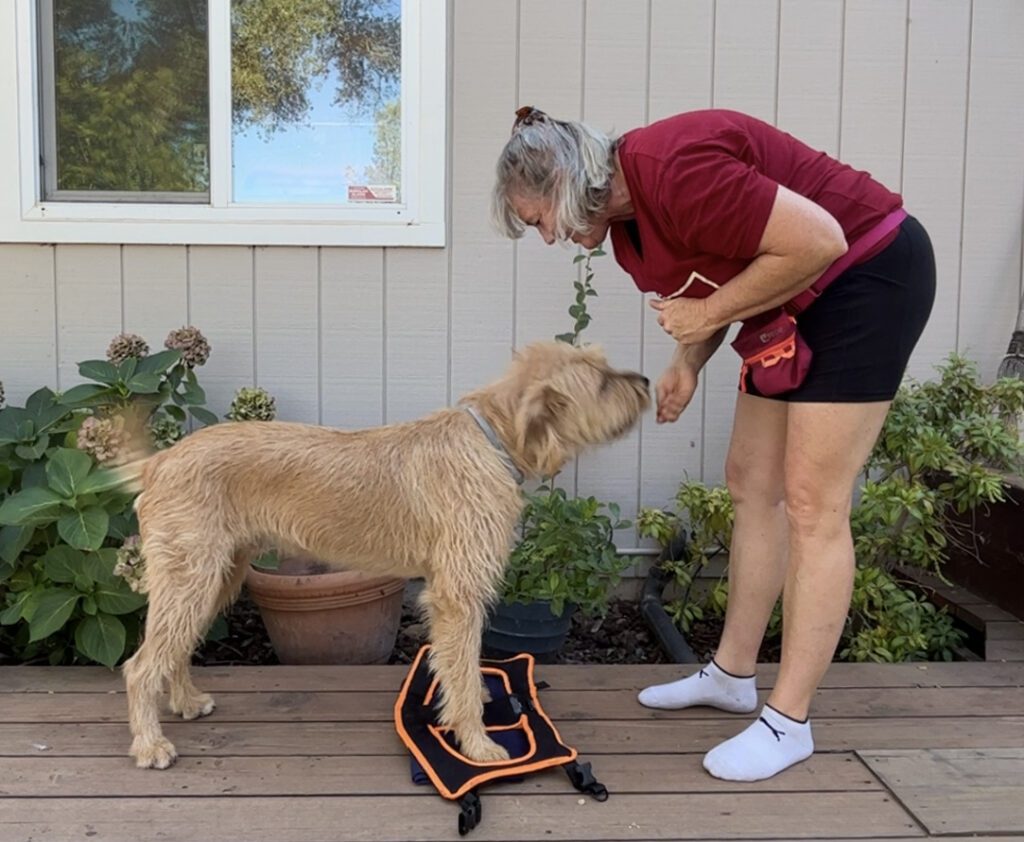
2. Place the harness on the blanket or platform spread open so her paws might land in the holes when she steps on it. Use your “Step in!” cue, and reinforce her for when she steps on the blanket; use extra high-value treats when her foot or feet land in the harness openings.
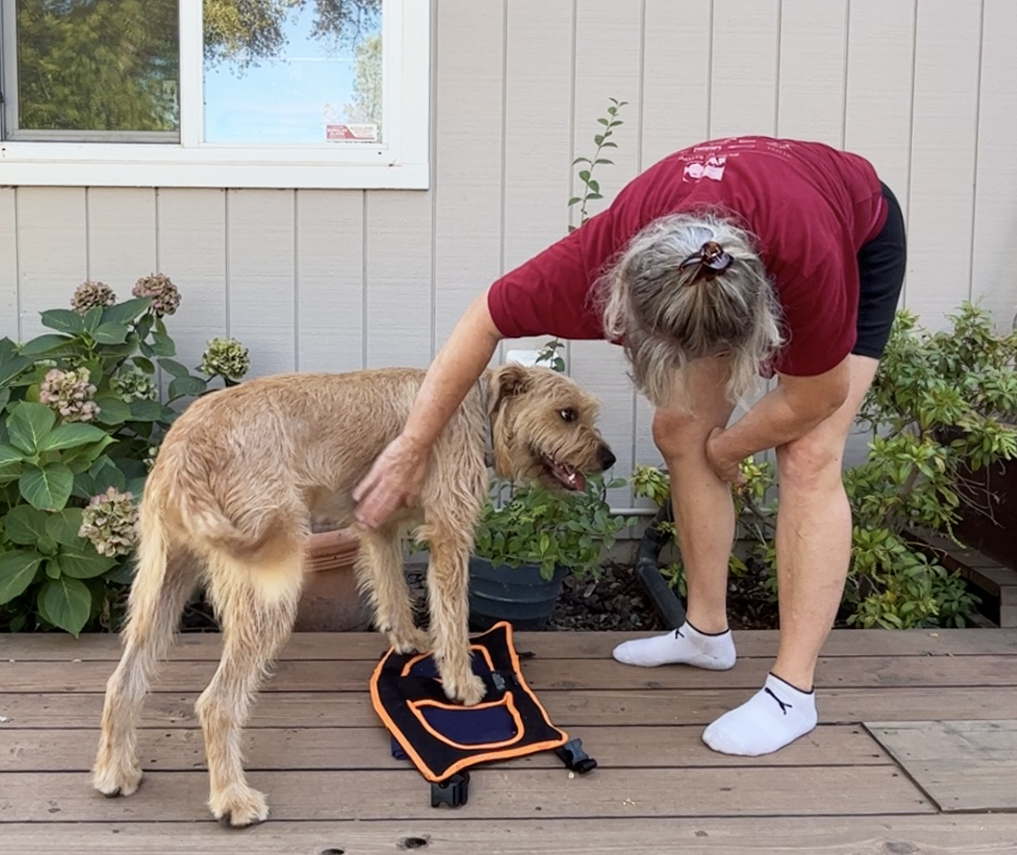
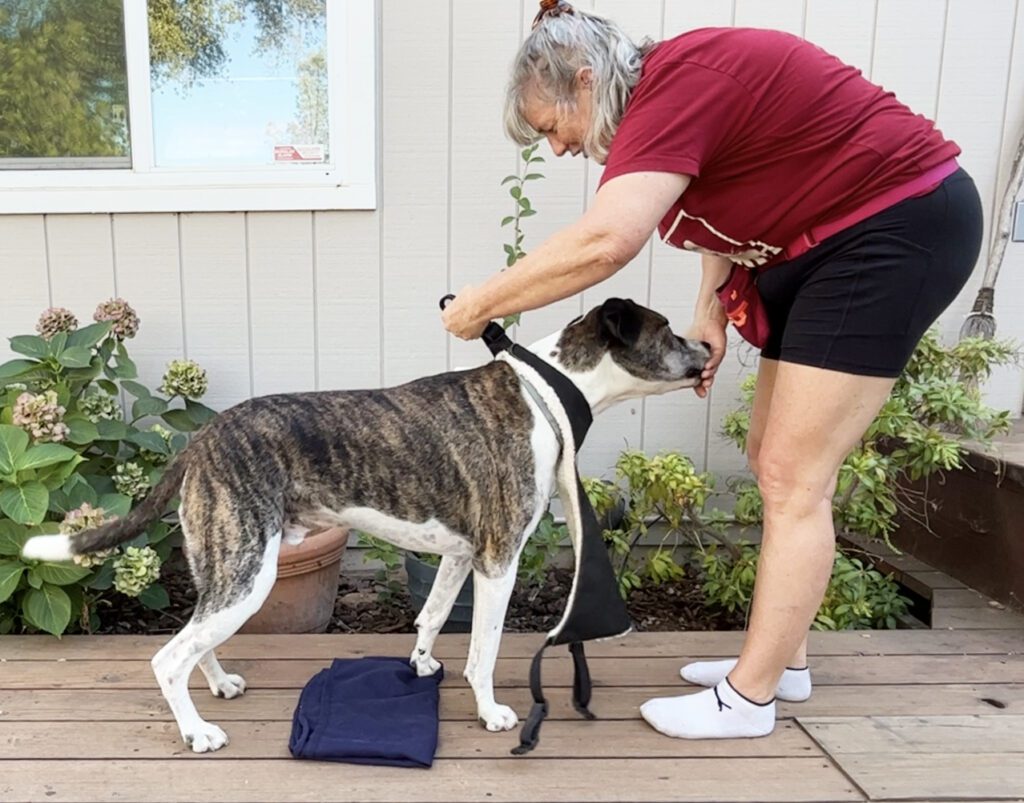
3. When she can stand with her feet in the openings, do some touch-conditioning: touch/pet and feed treats as she stands with her feet in the holes.
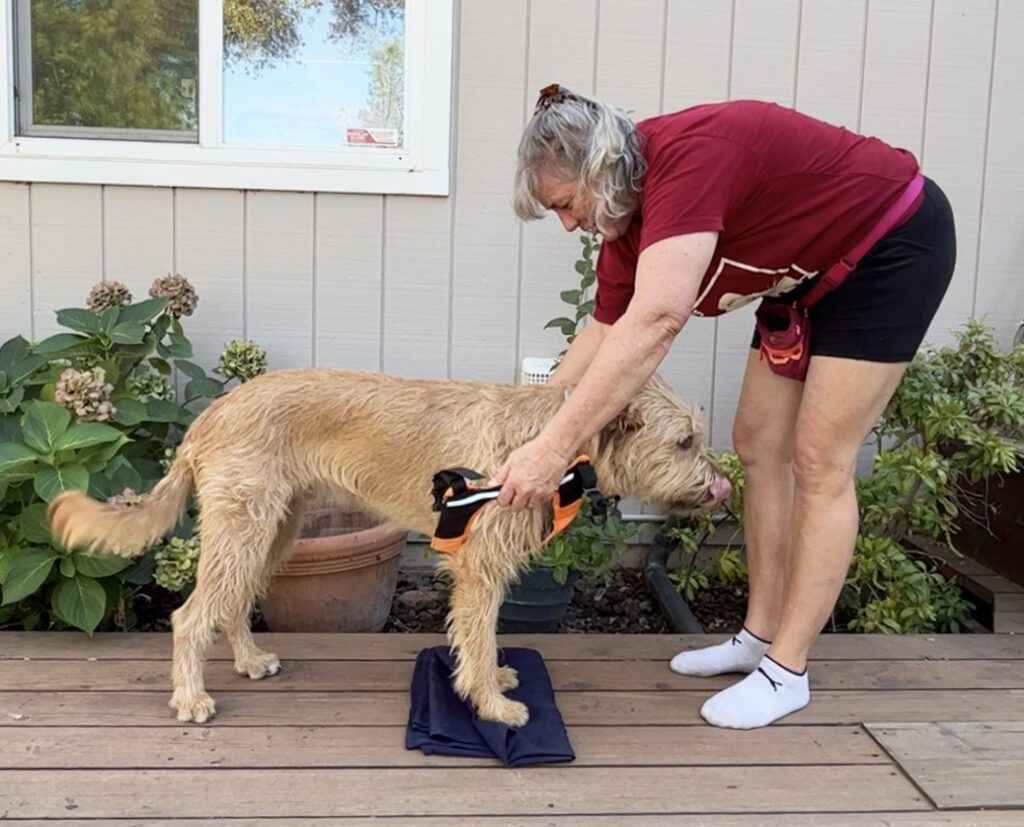
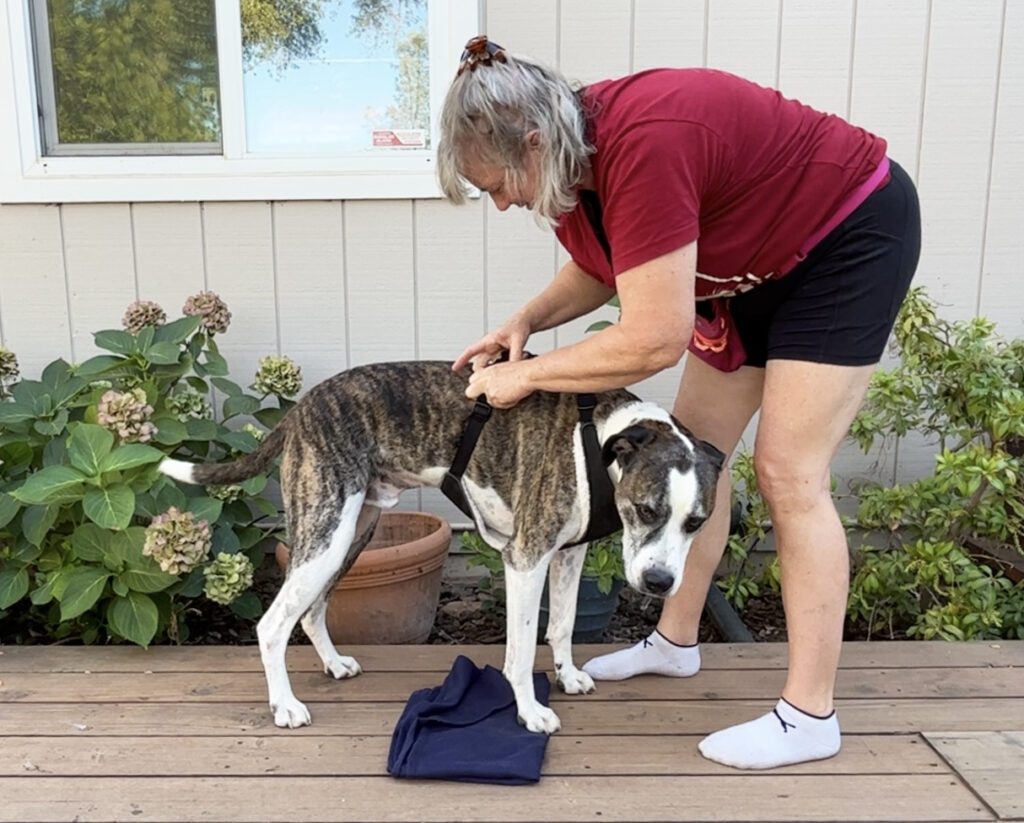
4. When she is comfortable standing and being touched, reach down and move the harness slightly. Mark and treat. Repeat numerous times, gradually moving the harness more and more until you can lift it add pressure around her body, and finally buckle or clip the straps. (Note that in this photo, the dog’s tongue-flick shows he is a little uncomfortable with this step. Take your time and keep the process fun and rewarding!) If she has trouble standing still for the lift and clip portion, have a second person feed treats while you do this, or position her in front of a non-absorbent surface (such as the refrigerator door) and smear squeeze cheese or peanut butter on the surface while you close the straps.

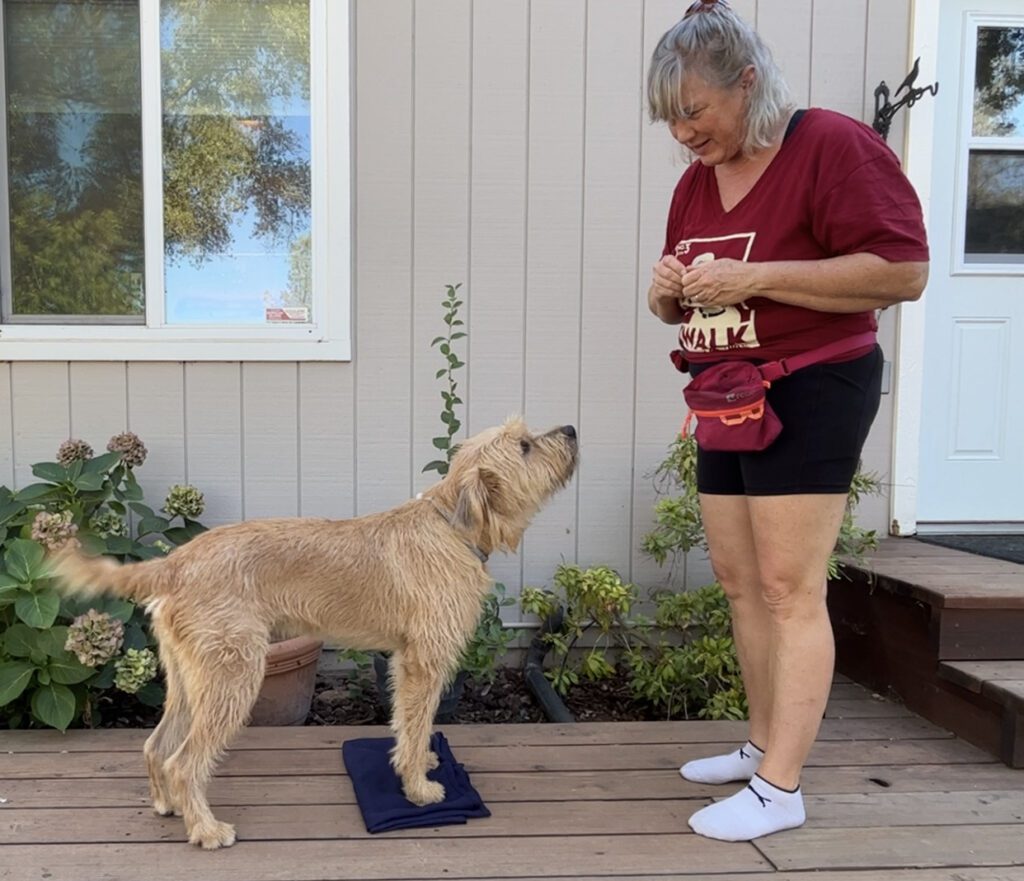
5. Once the harness is fastened, show your dog lots of love and appreciation – and reward with treats or play with a favorite toy! If adjustments need to be made to the harness for fit, take the harness off, adjust, and then put it on again.


I’m looking for a step in harness for my Aussie. Anyone have any recommendations?